Planning a bathroom renovation?
The first and most crucial step is bathroom demolition. While it may seem like a simple task, removing old fixtures, tiles, and drywall requires careful planning and execution. In this guide, we’ll walk you through the entire bathroom demolition process—from preparation to cleanup—so you can start your remodel with confidence.
Bathroom Demolition Costs: What You Need to Know
The costs for bathroom demolition can fluctuate based on your project’s scope and location. Typically, you might spend between $500 and $2,000 to demo a bathroom. These expenses are often itemized by the specific fixture being removed, including walls, floors, cabinets, showers, tubs, toilets, sinks, and doors. The national average for bathroom demolition cost per fixture hovers around $50, plus disposal fees ranging from $30 to $120.
However, the actual cost of your bathroom demolition project may vary, influenced by factors like the bathroom’s size, the project’s duration, the job’s complexity, and the quality of the new fixtures you plan to install. It’s advisable to obtain multiple quotes from professional demolition services to ensure a comprehensive understanding of potential expenses.Interior Demolition contractors to ensure you get a fair price for the work you need.
Why Safety Is Critical in Bathroom Demolition
Before initiating any demolition work, prioritizing safety is crucial to protect yourself and your family from potential hazards. The process of demolishing a bathroom involves the removal of fixtures, tiles, and other materials, which can generate dust or debris. Essential protective gear includes goggles, a dust mask, gloves, and work boots to safeguard your eyes, lungs, hands, and feet. Additionally, ensuring that all electrical and plumbing connections are turned off is vital to prevent accidents during the demolition.
When operating power tools like saws, drills, or hammers, it’s important to carefully read the manufacturer’s instructions and adhere to safety guidelines. Always avoid using damaged or faulty tools, and keep them out of children’s reach. Having a first-aid kit on hand in case of injuries is also crucial.
Essential Tools and Equipment for a Smooth Demolition
Before you begin your bathroom demolition project, it’s important to have the right tools and equipment on hand. Here are some essential items you will need:
- Safety goggles: Protect your eyes from flying debris and dust particles with a pair of safety goggles. Choose ones that fit securely and have anti-fog lenses for clear visibility.
- Gloves: A good pair of work gloves will protect your hands from sharp edges and splinters during the demolition process. Opt for gloves with a sturdy grip for better handling.
- Sledgehammer: A sledgehammer is a must-have tool for breaking down walls and removing stubborn fixtures. Choose one with a comfortable grip and a heavy head for maximum impact.
- Pry bar: A pry bar is essential for removing tiles, baseboards, and other fixtures. Look for a pry bar with a wide, flat edge for easy leverage.
- Utility knife: A utility knife will come in handy for cutting through caulk, adhesive, and other materials during the demolition process. Make sure to have spare blades on hand for easy replacement.
- Dumpster or debris container: Having a designated container for demolition debris will help keep your workspace clean and organized. Rent a dumpster or use large trash bags to dispose of the debris properly.
- Power tools (optional): Depending on the size and complexity of your bathroom demolition, you may need power tools such as a reciprocating saw or angle grinder. These tools can make the process faster and more efficient but should be used with caution.
Having these tools and equipment readily available will make your bathroom demolition project much easier and safer.
Step-by-Step Guide to the Bathroom Demolition Process
Step 1: Turning off Utilities and Removing Fixtures
Before you start demolishing your bathroom, it’s crucial to turn off all utilities to ensure your safety. Shut off the water supply to the bathroom by closing the main water valve or individual shut-off valves. This will prevent any accidental leaks or flooding during the demolition process.
Next, turn off the electricity to the bathroom by switching off the circuit breaker or removing the fuse. This step is essential to avoid any electrical hazards while working on the demolition. If you’re unsure about handling electrical components, it’s best to consult a licensed electrician.
With the utilities turned off, you can now begin removing fixtures such as the toilet, sink, and bathtub. Start by disconnecting the water supply lines and drain pipes using a wrench or pliers. Use a utility knife to cut through any caulking or adhesive holding the fixtures in place. Once disconnected, carefully lift and remove each fixture, placing them aside for disposal or reuse.
Remember to take your time and work carefully to avoid causing any damage to the surrounding walls or flooring. Keep track of all the screws, bolts, or other hardware removed from the fixtures, as you may need them during the installation of new fixtures.
Step 2: Clearing the Space and Protecting Surrounding Areas
With the fixtures removed, it’s time to clear the bathroom space of any remaining items. Remove any cabinets, shelves, or other furniture that may hinder the demolition process. Empty out the contents of the bathroom, including toiletries, towels, and decorations.
To protect the surrounding areas from damage, cover the floors with thick drop cloths or plastic sheeting. This will catch any debris or dust that is generated during the demolition. Use painter’s tape to secure the edges of the drop cloths or plastic sheeting to the walls, ensuring a tight seal.
If there are any fragile or valuable items in adjacent rooms, consider moving them to a safer location temporarily. This will prevent accidental damage during the demolition process. Take extra precautions if you have pets or small children in the household, keeping them away from the work area to ensure their safety.
By clearing the space and protecting the surrounding areas, you can focus on the demolition without worrying about causing unnecessary damage or mess.
Step 3: Removing Wall and Floor Coverings
With the space cleared and protected, it’s time to start removing wall and floor coverings. Begin by removing any baseboards or trim along the walls using a pry bar. Insert the pry bar between the baseboard and the wall, then gently apply pressure to loosen it. Work your way along the length of the baseboard, prying it away from the wall. Set the baseboards aside for reuse or disposal.
Next, remove any wallpaper or paint from the walls using a wallpaper steamer or a scraper. If using a steamer, follow the manufacturer’s instructions for safe and effective use. Hold the steamer against the wallpaper, allowing the steam to penetrate and soften the adhesive. Once softened, use a scraper to carefully remove the wallpaper.
If your walls are covered in tile or other hard materials, you may need to use a hammer and chisel to break them off. Start at a corner or edge and gently tap the chisel with a hammer to create a small opening. Once you have a starting point, continue chiseling along the edges of the tiles, gradually working your way towards the center. Be cautious not to damage the underlying wall structure.
For floor coverings such as tiles or linoleum, start by removing any trim or baseboards along the edges. Use a pry bar or scraper to lift and remove the flooring material. If the flooring is glued down, you may need to use a heat gun or adhesive remover to loosen the adhesive before removal.
Take your time during this step, working carefully to avoid damaging the walls or subfloor. Dispose of the removed materials responsibly, either by recycling or following local waste disposal guidelines.
Step 4: Demolishing the Bathroom Fixtures and Fittings
With the walls and floor coverings removed, it’s time to tackle the demolition of the bathroom fixtures and fittings. This step may involve removing the bathtub, shower, vanity, and any other built-in fixtures.
Start by disconnecting the water supply lines and drain pipes connected to the fixtures using a wrench or pliers. Use a utility knife to cut through any caulking or adhesive holding the fixtures in place. Once disconnected, begin removing the fixtures by carefully lifting and pulling them away from the walls or flooring.
For larger fixtures such as the bathtub or shower, you may need assistance or specialized tools. Consider renting a dolly or using a team lift approach to safely remove these heavy items. Take extra precautions to protect yourself and others from injury during this phase.
If your bathroom has a vanity or cabinets, remove the doors, drawers, and hardware before demolishing the main structure. Use a pry bar or hammer to break apart the vanity or cabinets, working from the top down. Dispose of the broken pieces properly, ensuring that any glass or sharp edges are contained and handled safely.
Remember to wear appropriate safety gear, including gloves and safety goggles, during the demolition process. Take breaks as needed and stay hydrated to avoid exhaustion and fatigue.
Step 5: Dealing with Plumbing and Electrical Systems
Once the fixtures and fittings have been removed, you may need to address the plumbing and electrical systems in your bathroom. This step is crucial if you plan to make any changes or upgrades to these systems during the renovation.
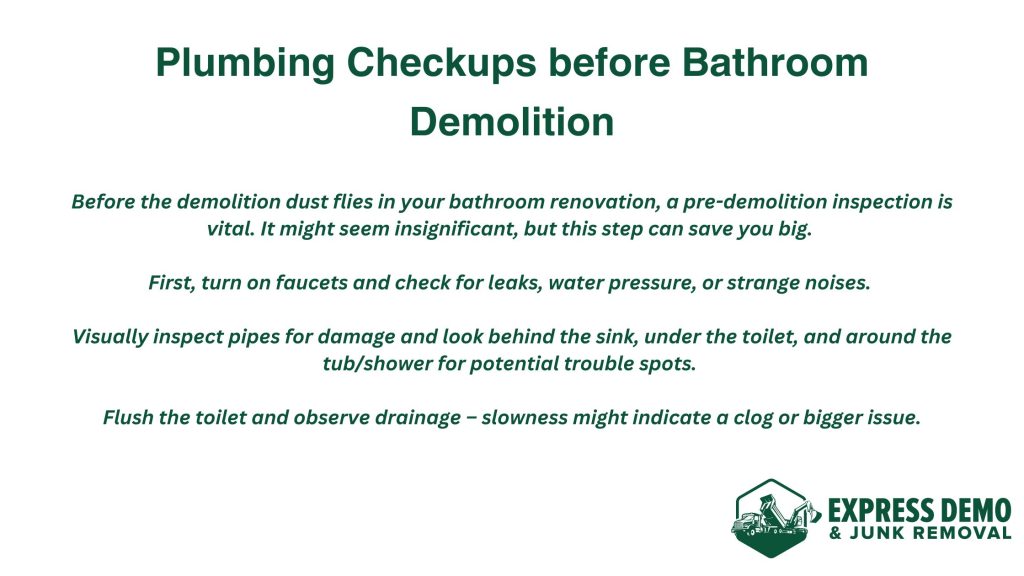
For plumbing, start by inspecting the existing pipes and drainage system. Determine if any repairs or replacements are necessary before proceeding with the renovation. Consult a licensed plumber if you’re unsure about the condition of the plumbing or need assistance with any modifications.
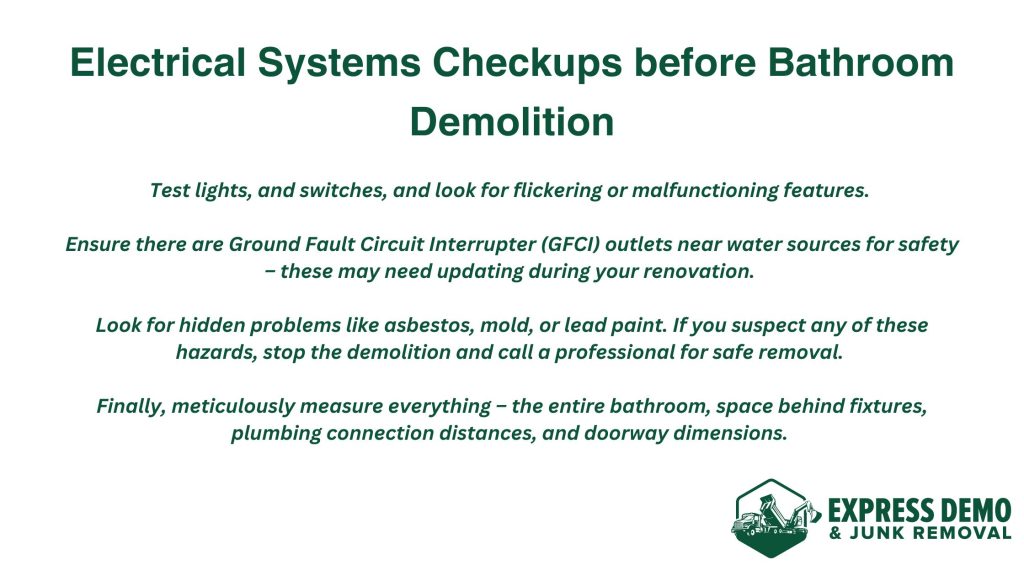
If you plan to make changes to the electrical system, consult a licensed electrician to ensure compliance with local building codes and safety regulations. This may involve installing new outlets, switches, or lighting fixtures. Ensure that all electrical work is performed by a qualified professional to avoid any hazards or code violations.
Take this opportunity to evaluate the insulation and ventilation in your bathroom. Upgrading these systems can improve energy efficiency and prevent issues such as mold or moisture buildup. Consult with professionals as needed to ensure proper installation and compliance with building codes.
Step 6: Proper Disposal of Demolition Debris
With the demolition phase complete, it’s time to properly dispose of the demolition debris. Renting a dumpster is an efficient way to collect and dispose of the debris in one central location. Ensure that the dumpster is placed in a convenient and accessible area, allowing for easy loading and removal.
If a dumpster is not feasible, consider using large trash bags or designated containers for the debris. Sort the debris into categories such as wood, metal, or non-recyclable materials for proper disposal or recycling.
Before disposing of any materials, check local regulations and guidelines for waste management. Some materials, such as hazardous chemicals or asbestos-containing materials, may require special handling or disposal methods. Consult with local authorities or waste management facilities for guidance on proper disposal procedures.
By disposing of the demolition debris responsibly, you contribute to a cleaner environment and ensure compliance with local regulations.
What Really Happens During Bathroom Demolition?
Before work begins, the bathroom demolition team will need to shut off water and power to the space.
- Plumbing, including drain lines, can be shut off specifically in the bathroom, but turning off lighting will likely darken nearby areas since lighting is wired on circuits rather than to each individual part of your residence.
- Homeowners can stay in their residences during bathroom demolition as long as they don’t mind construction noise and a bit of dust. However, you won’t be able to use the bathroom once work begins.
- Relocate all essential toiletries to another bathroom in the house, since this space will be unusable until the remodel is complete. And of course, remove any pictures, knick-knacks and decorations.
If dust is a concern, you can have the demolition team hang plastic around the bathroom doorway and in any adjacent hallways to help contain it. The bathroom demolition team will carefully remove all fixtures and debris from the space, ensuring that plumbing and electrical systems are kept intact or replaced and rerouted as necessary. You should expect the demolition process to take 1-2 days, or even less, depending on the size of your bathroom and the amount of work involved, with waste removal being a part of the process.
How to Save Money on Your Bathroom Demolition Project
While bathroom demolition is an essential step in the renovation process, it can also be expensive. Here are a few tips for keeping costs down, including how much does it cost to demo a bathroom:
- Keep existing layouts and configurations: Rerouting plumbing and electrical systems is a labor-intensive process that can quickly increase the cost of your renovation project. Ask your contractor which configurations in your space are worth keeping unchanged.
- Reuse baseboards, doors, and casings: In newer residences, these items can usually be repainted and repurposed rather than removed and totally replaced.
- Tile over existing flooring: In some instances, you might be able to install new flooring on top of existing flooring rather than paying to have it torn out.
- Keep your old tub: A new bathtub can be expensive. Consider refinishing your tub to give it new life.
- Stick to the original plan: Any changes you make after you accept a bid will cost you more money. This is all the more reason to be proactive and plan ahead.
Bear in mind that the more you want removed from your bathroom, the more it’s going to cost. You may be tempted to tackle some of these tasks yourself, but things can quickly go south, and your bathroom remodel contractor will likely charge you to fix any mistakes you might make. This is particularly true for bathroom demo tasks, which can seem deceptively simple at first.
Fresh Bathroom Renovation Ideas to Consider After Demolition
Once the demolition work is done, you can start planning your bathroom renovation. Here are some ideas to consider:
- Install new fixtures such as sink, toilet, or bathtub.
- Choose new tiles or flooring to match your style and budget.
- Add storage options such as cabinets or shelves.
- Install new lighting or ventilation systems to improve the functionality of the space.
- Consider eco-friendly options such as low-flow toilets, showerheads, or LED lighting.
By renovating your bathroom, you can improve the look and functionality of your home and increase its value. Bathroom remodeling is not just about aesthetics; it’s an investment in your home’s future.
Conclusion
Bathroom demolition is an essential step in the renovation process that requires careful planning and execution. By understanding the bathroom demolition cost and following our tips for keeping costs down, you can ensure that your renovation project stays on budget and on schedule. With the right contractor and a clear vision of your bathroom remodeling goals, you can transform your outdated bathroom into a modern and stylish space that you and your family will enjoy for years to come.